If you want to have a ventilated hood, you require the best exhaust hoods. This is the best choice when it comes to the removal of smoke or grease from the range hood. While some of the hoods are ventilated, others remain unventilated. There is a need for ventilation for some of the range hood.
When it comes to exhaust hood ventilation, there are two choices available to you. The first choice includes wall installation and ceiling installation. Our attention here is about wall ventilation.
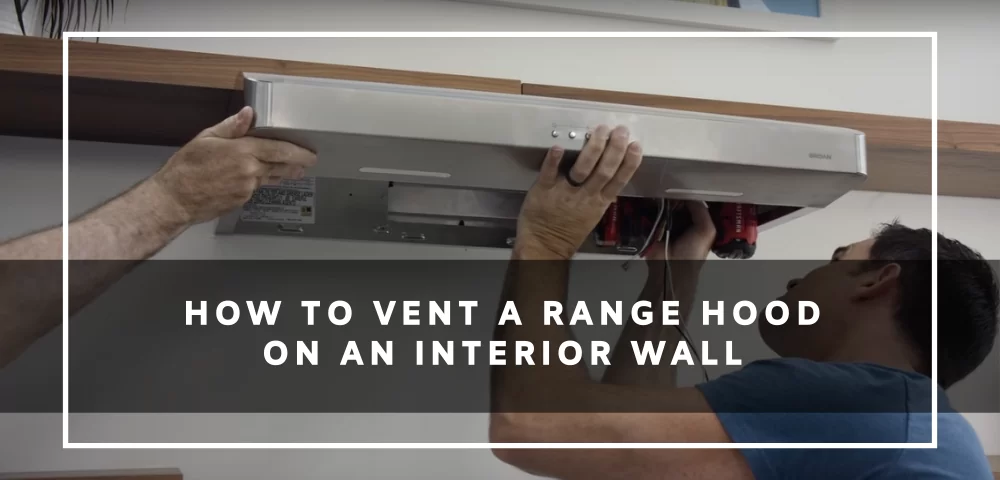
Venting range hood through wall
To do that, you need to connect the vent hood through anchors and screws to make them tight and strongly. Caulk carefully around the seams just around the ceiling and the vent hood. Afterward, install the filter as well as the fan and finally, the light kit, make sure that wiring is properly done and follow the color-coding in the work process. It is mandatory that color must match accurately and this means that black to black and white to white, as well as green to green.
If there are loose ends, cover them using the wire nuts and secure it through the electrical cover. When the vent hood is installed turn it on to ensure that fan work as well as the light. Furthermore, check through the duct to ensure that everything is in perfect condition and this means that there is no leakage of any form. It will be dangerous when there is a leakage because it could lead to disasters such as a fire. The most important thing is to ensure that the exhaust passes through the right duct which is the exit duct.
The most important thing is to ensure there is proper ventilation of the hood. When the proper ventilation is done, your kitchen would be ready for a much better place for any sort of cooking, it is going to look good and smell great. By ensuring proper venting of the range hood which eliminates smoke, vapors or fats, as well as grease and every unwanted thing from the kitchen.
Range hoods venting
Range hoods are done through a special duct and this often through the roof for most of the cases and in some cases, it can run through the wall. If it is done through the wall and it is often concealed within the wall. The most important thing is to ensure that water and air remain tight. However, to make things hassle-free, everything should be done correctly to make sure there is no problem occurs later.
Start the ductless range hood installation process
To start the ductless range hood installation process, you have to create a hole and the hole has to be in the wall since it will be installed on it. The markings on the wall to be broken and hole to be created, the whole thing should be done in a professional manner. The most important thing, it must be done in the correct size and shape. To create the hole, you have to use the drywall saw. To do that one has to be very careful with the work being carried out.
First of all, slash a hole on the wall of the size 15cm on top as well as 10cm below to ensure that the connecting pipe is well fitted. The rubric can be done using 2.5 by 10cm summers. Please note that this can be wrapped as well.
The rubric is very important and it has to be long enough to accommodate and the end barriers. After finishing with the rubric, fasten 5cm trimmer as a barrier. The height of the trimmer is very important and it must be the same as that of the barrier. As mentioned above, the hole size is important and the barrier trimmer has to pass through it. In any case, if the barrier trimmer is unable to enter, then the hole must be expanded and tighten everything using screws and nuts.
After creating the hole, the next thing to do is to pass the rubric through the hole. In the center of that rubric and two smalls 5 by 10 and this must be compatible with the barrier length. Ensure that they are strong and do not destroy easily by tightening them to the barrier top and bottom, and do that individually and at the end, the wall has to be closed using fresh drywall to cover it.
When you have an insertion of the barrier, you can obscure the drywall ends adopting a seam mixture as well as dry tape. Ensure that the unit that was earlier dismantled is hanged back. Ensure that the pipe must pass through the hole.
Installation can then follow. This is easier since you are already with the technical details which can be more challenging. The first thing to do is pass the wires through and send it through the oval extension which is within the range hood. The wire has to be tightened using a clamp. In case of short length, you can add more wire to increase the length. However, these cables can be joined together using a cable connector and the cables to be joined together have to be of the same type and must be of the same color.
Finally, before hanging the hood, ensure that you connect it to earth neutral. Hang through the kitchen unit when you finish, it must be tightened correctly. After securing the installation by putting the nuts at the right place both in the inner and outer surfaces and the correct installation to the inner wall is done, and then get an extension and cut them to the correct sizes. Attach them to the middle of the wall cap as well as the connector pipe. When everything is done you have to connect electricity and other services that were cut off.
It must be ensured that you measure it correctly before you start to create a hole. Once you know the best parameters, then it would be easier to choose the correct range hood. On the other hand, measuring such places like the kitchen unit.
especially the gas stand area before embarking on any installation is necessary. And, remember to disconnect the electricity and restore them after the installation.